
***********************
I'm so excited to be sharing the Mabel Messenger from Jenna Lou Designs with you today! I'd say this is probably one of my favorite bag patterns.

Fabric & Interfacing - The pattern calls for medium to heavy weight fabric, medium weight fusible interfacing (the pattern recommends Pellon Decor Bond), & heavy interfacing (the pattern recommends Pellon Peltex). All three times I've made this bag I've used quilting weight cotton & have been happy with the weight of the bag, but using a decor weight for the exterior would definitely add some extra weight to the bag. I used a medium weight fusible interfacing, although it was lighter & more flexible than Decor Bond, and Pellon Peltex. I always like to add interfacing to my lining pieces, even though it's not called for in the pattern. I like the extra weight it adds, and keeps the turning hole from getting stretched out during turning.
In addition to fabric & interfacing, you'll also need strap hardware, a zipper, and a magnetic snap.
Pattern pieces - The pattern includes only three pattern pieces, two of which are taped together for the main body piece. All other pieces (zip pocket & strap) are cut by dimensions straight from the fabric.
When I made my version with the straight top (more on that later), I just traced the body piece onto freezer paper.
Illustrations/instructions - The instructions for this bag are fairly short (only 4 pages, including photos & cutting instructions), but thorough. There are a lot of great color pictures for each step.
The only part I had difficulties with the first time I made this was the zipper pocket. It was my first time attempting a zipper pocket, and I just couldn't wrap my head around it. I ended up not adding the pocket since I was pinched for time & didn't have enough fabric to re-cut my lining if I messed up. The next time I made the bag, I ended up using this tutorial for the zipper pocket (also found in The Bag Making Bible) & it's my go-to method now. Reading back over the instructions now, they make more sense, but I think I still like the other method a little better.
I also prefer the double-fold bias tape method of making the strap (although not cut on the bias) rather than the method in the pattern (folding the edges in 1/2", then folding in half). I like the added strength of having the strap 4 layers thick through the full width.
Modifications - This bag is great as it's written, but it's also perfect for tweaking to fit your needs. Each time I've made it, I've done things a little differently. I just love the versatility!
The first time I made it, I followed the pattern pretty exactly, other than skipping the interior zipper pocket. This was one of the earlier bags I made, and I had a tough time sewing the curve at the top of the bag because the stiffness of the Peltex interfacing.
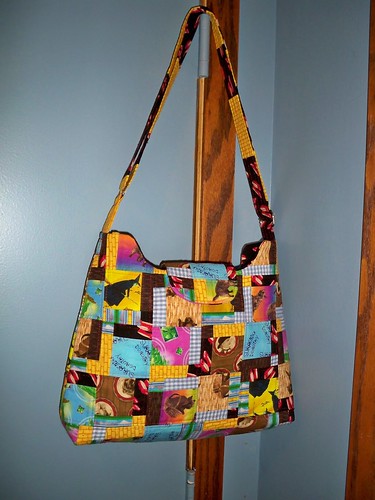
I wasn't able to topstitch the top of the bag once I had it together (the pattern skips this step), something I always try to do to finish a bag. You can see here how the lining doesn't sit very nice at the top because of this.

I also added a key clip for keys or a little pouch I made to go along with it.
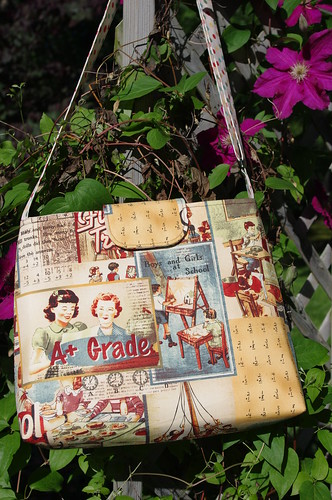
Because of the troubles I had with the curve the first time, I skipped the curve & made the top straight across on the second bag I made. I also added the interior zippered pocket on this one. I really like how it turned out, but it's definitely missing something with the straight top. The curved top is definitely one of the things I love most about this bag.
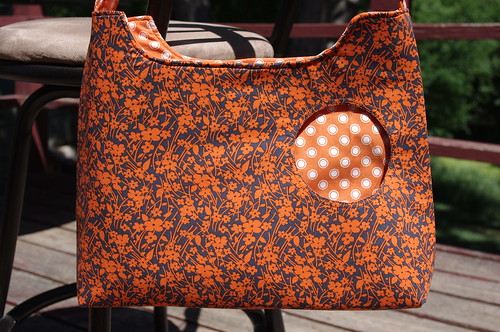
The most recent bag I finished up, I decided to tackle the curve again, hoping it might be a little easier now that I'm a bit more experienced. I was right, the curve was definitely easier this time, although still difficult to maneuver due to the stiffness of the Peltex. I was able to topstitch at the end this time, which I think really finishes the bag. Just make sure you really take your time if you're going to try. I also skipped the flap this time; I was going to put the magnetic snap on the inside, but decided to skip it altogether. I wish now that I had added the snap, but I'll live without it.
Front
Back
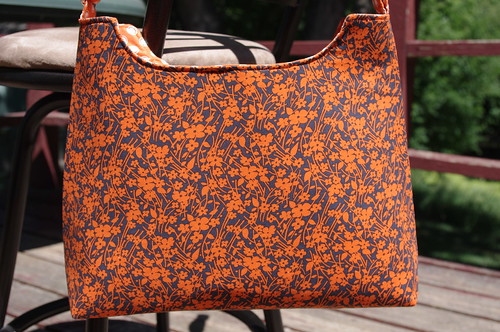
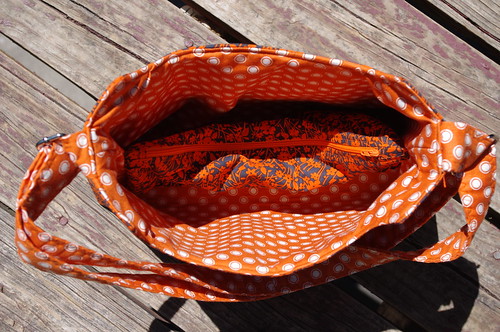
Instead of the interior zipper pocket in the lining, I added an interior zippered divider.
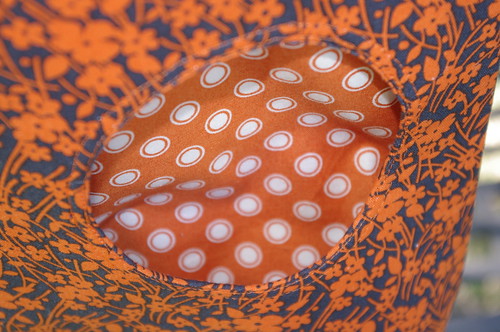
I also added this fun circle pocket on the outside.
Conclusion - I would say this is an intermediate pattern, mostly because of the difficulty the Peltex adds, plus the zippered pocket & adjustable strap. Overall, it's a fairly quick bag to sew up, and after making it twice before, I didn't even need to get out the instructions this last time I made the bag. I've made three now, and definitely plan on making more!
Big thanks to Sara for letting me share with you today!
No comments:
Post a Comment
Thank you for your comments, I appreciate each & every one I get. I do try to respond to most (if not all) comments, but that's hard to do if you don't have an e-mail in your profile! :)